MSSQL Notes
1. Queries
1.1. Processes Pending Memory Allocation
-
Run the following:
SELECT er.session_id,er.command,
SUBSTRING(st.text, (er.statement_start_offset/2)+1,
((CASE er.statement_end_offset
WHEN -1 THEN DATALENGTH(st.text)
ELSE er.statement_end_offset
END - er.statement_start_offset)/2) + 1) AS statement_text,
er.wait_type, er.wait_time,
mg.requested_memory_kb/1024 AS requested_memory_MB,
mg.granted_memory_kb/1024 AS granted_memory_MB,
CONVERT(XML, qp.query_plan) AS query_plan
FROM sys.dm_exec_requests er CROSS APPLY sys.dm_exec_sql_text(er.sql_handle) st
CROSS APPLY sys.dm_exec_text_query_plan(er.plan_handle, er.statement_start_offset, er.statement_end_offset) qp
INNER JOIN sys.dm_exec_query_memory_grants mg ON er.session_id = mg.session_id
ORDER BY mg.requested_memory_kb DESC
2. Back Up DB
-
Connect via
Microsoft SQL Server Management Studio. -
Select the DB and then menu item
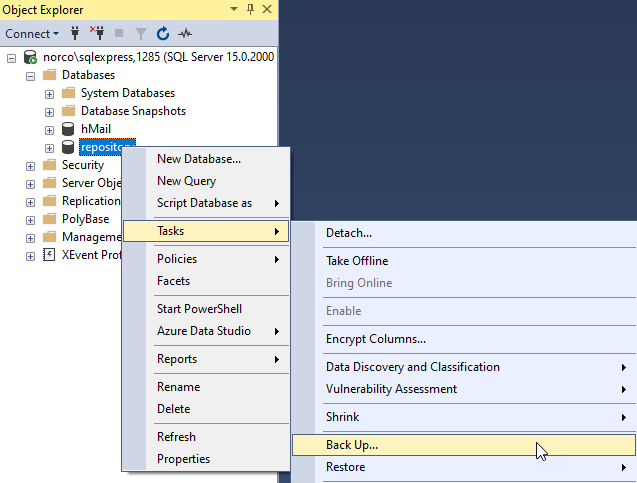
-
Click the Ok button
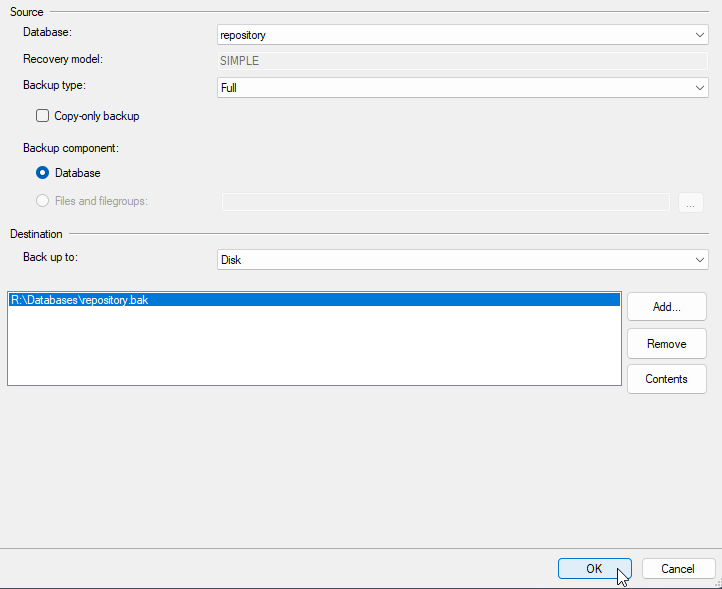
The target destination file can be changed by removing Remove and adding Add a new destination file.
3. Restore DB
3.1. Restore DB from File
-
If the backup file is on a different server, then it needs to be copied to this server.
If the MSSQL server is hosted in a Docker Containter, then the backup file will need to be copied to a volume this is accessible from the container. -
Connect via
Microsoft SQL Server Management Studio. -
Right mouse click on Databases and select Restore Database…
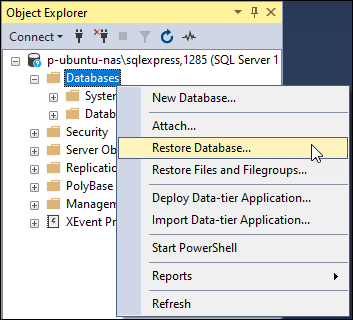
-
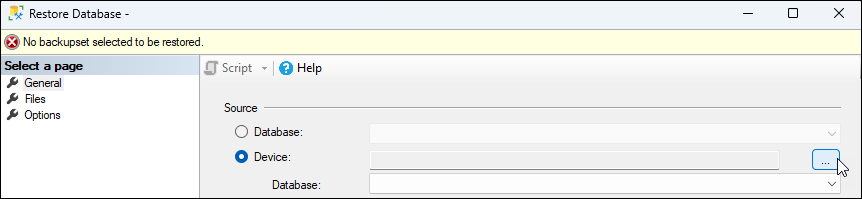
Select the Devices radio button
-
Select the … button to select the device file.
-
Select the Add button to add a device file.
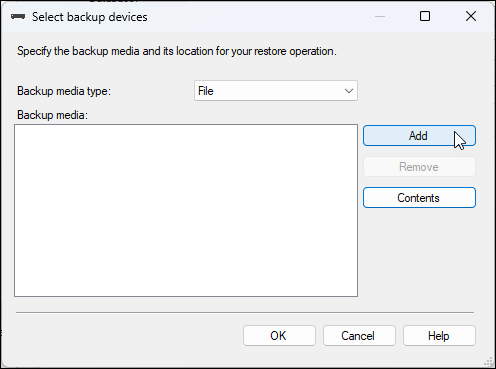
-
Backup file has been selected. Click the OK button to confirm.
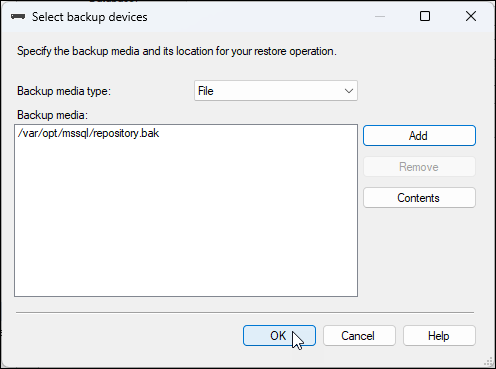
-
Click the OK button to restore the DB…
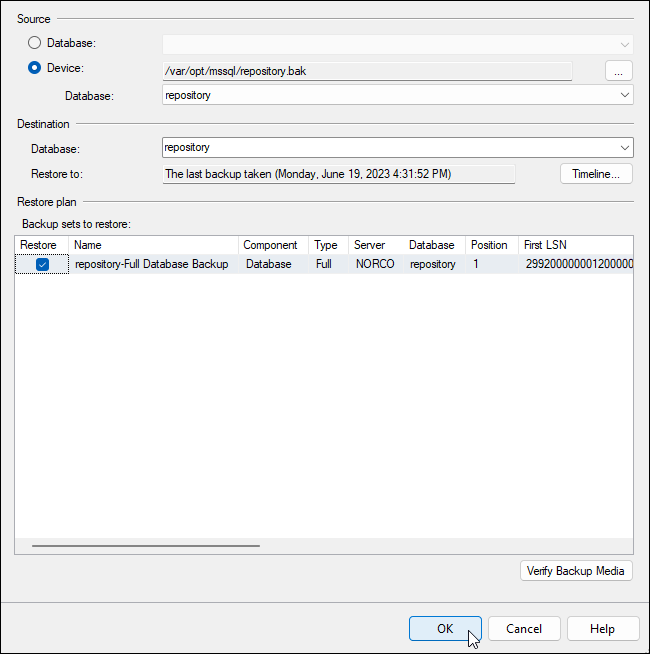
-
Click the OK button to acknowledge the restored DB.
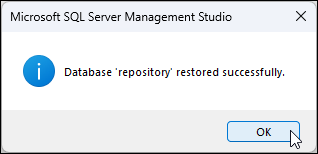
-
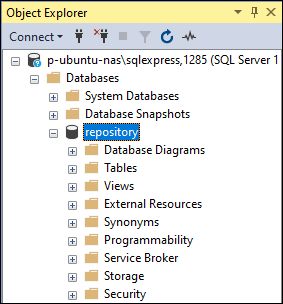
View the restored DB.
3.2. Recreate DB Service Accounts
After restoring the DB, the existing service accounts will be orphaned.
They will need to be recreated.
-
In this example we’ll re-create a service account assuming the following:
-
db =
repository -
accountname =
RepoAdmin -
password =
A-Secret-Pass0rd.CREATE LOGIN RepoAdmin WITH PASSWORD = 'A-Secret-Pass0rd'; GO USE repository; GO DROP USER RepoAdmin; GO CREATE USER RepoAdmin; ALTER ROLE db_datawriter ADD MEMBER RepoAdmin; ALTER ROLE db_datareader ADD MEMBER RepoAdmin; GO
-