ServiceNow MidServer Install
1. MID Server Install on Windows Server
|
The full document can be found here. |
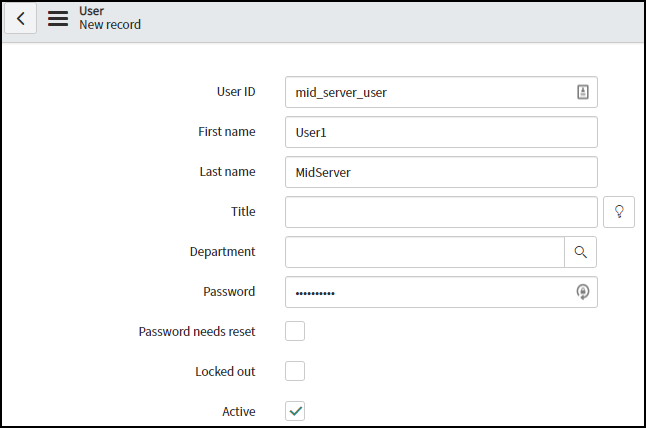
1.1. Create the Mid Server user account
-
Create the user account in SNow:
-
Edit the account and assign it the
mid_serverrole: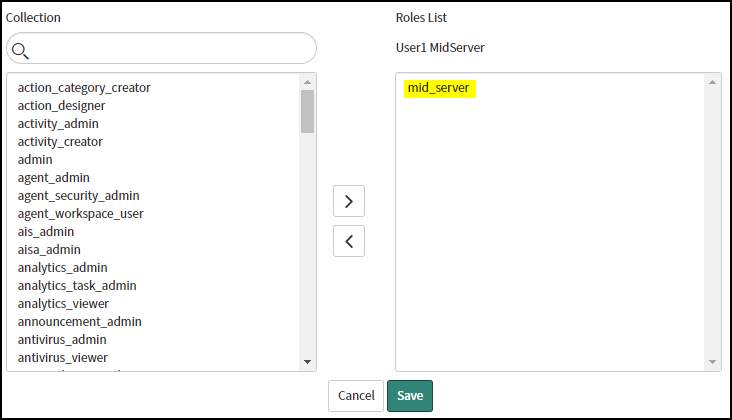
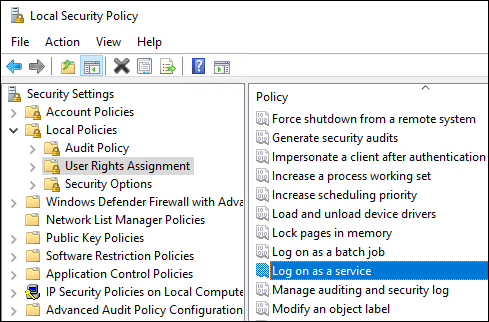
1.2. Create Service Account with the Log on as a Service right
|
The service account cannot be a local system or an administrator level account (local admin, domain admin, etc.) The service account requires the log on as service right, which is required for an account to be used as the log on user for a service. |
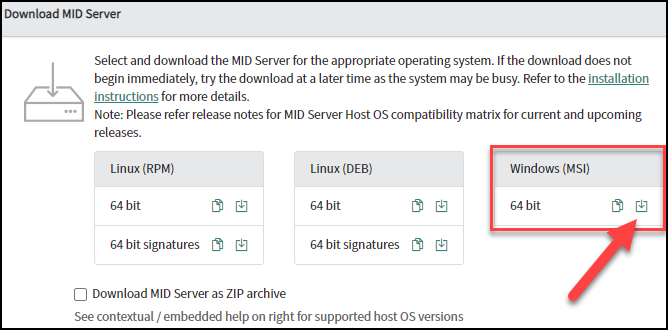
1.4. Install
-
Download the installer from here.
You’ll need to modify this link to point to your specific ServiceNow Instance
-
Start a command window as administrator and execute the downloaded
.msiinstaller: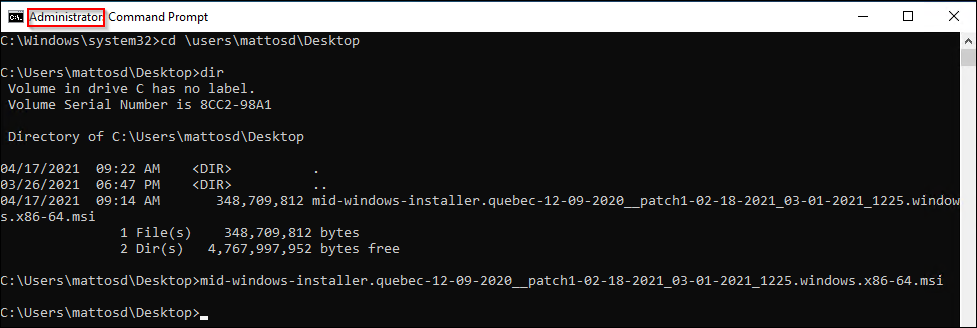
-
Provide the ServiceNow instance URL and user name/password info:
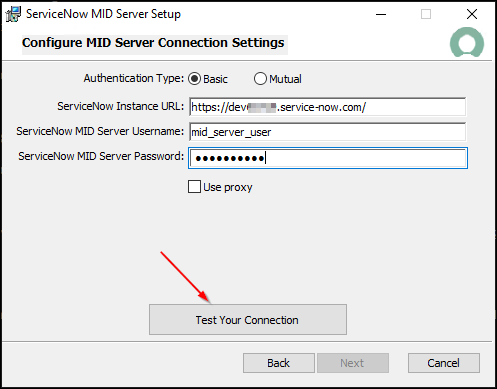
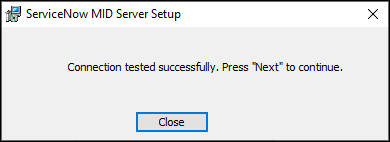
…and then click the Test Your Connection button:
-
Provide the domain service account user name and password.
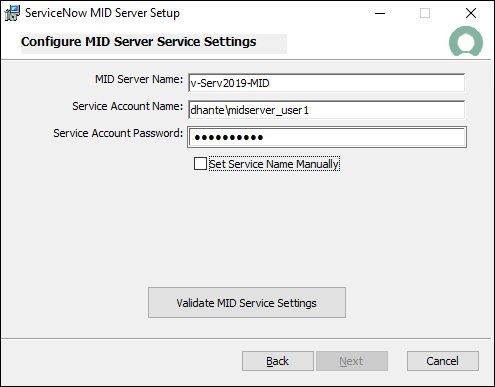
-
Click the Set Service Name Manually check box:
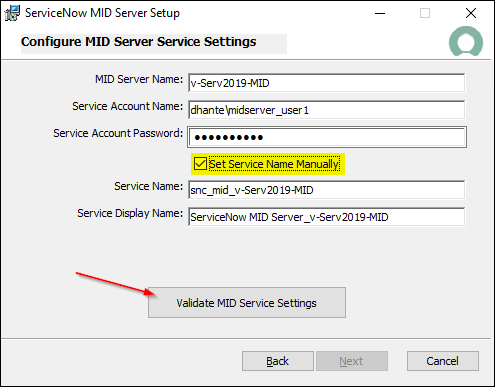
…and then click the Validate MID Service Settings button.

-
Select the
Start MID Server after installationcheck box:

2. Configure Discovery
First, we’ll need to install two plugins which can be installed from the [developer website](https://developer.servicenow.com/dev.do).
After you login, click your account icon in the upper right-hand corner.
This will result in menu. Click on the Activate Plugin link.
Now you can activate the following two plugins from the plugin menu:
-
Discovery -this will take a while
-
Credentials