Snapmaker Orca Notes
Table of Contents
1. Filaments Profiles
1.1. Importing Filament Profiles
-
Download filament profile(s). They can found on the filament mfg’s page or from other sources.
3D-Fuel PCTG filament profiles can be downloaded from here.
1.2. Creating Filaments Profiles
1.2.1. Create Filament Profile
-
Click on a filament dropdown
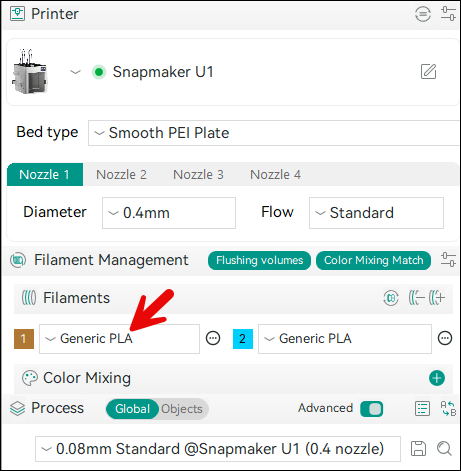
-
Add the bottom of the list, click Add/Remove Filaments
-
Click the Custom Filaments tab
-
Click the Create New button
-
Fill in filament info:
Sample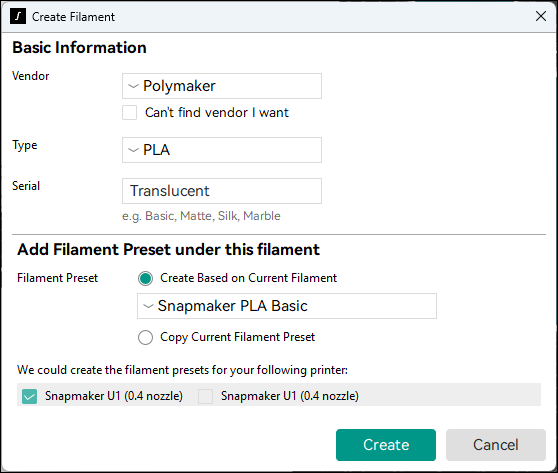
-
Click the Create button
-
Click the OK button

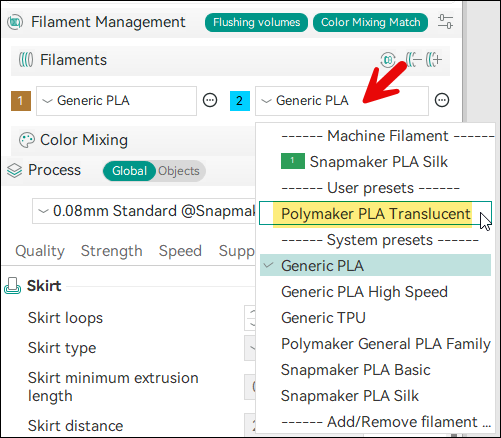
2. Process Profiles
2.1. Importing Process Profiles
-
Download process profile(s). They can found on the filament mfg’s page or from other sources.
3D-Fuel PCTG process profiles can be downloaded from here. -
Import the
.jsonfile via: -
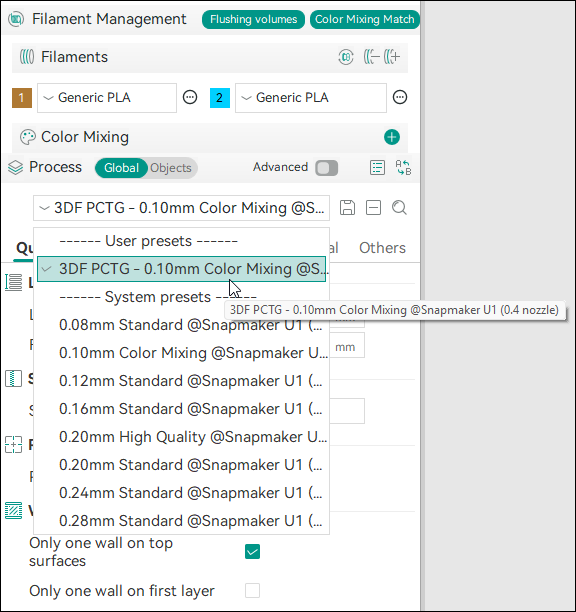
Imported profiles appear in the filament list under
User Presets:Example: 3D-Fuel PCTG for Full Spectrum Printing